
Resources for Users
High performance computing systems, software, and training to advance your research
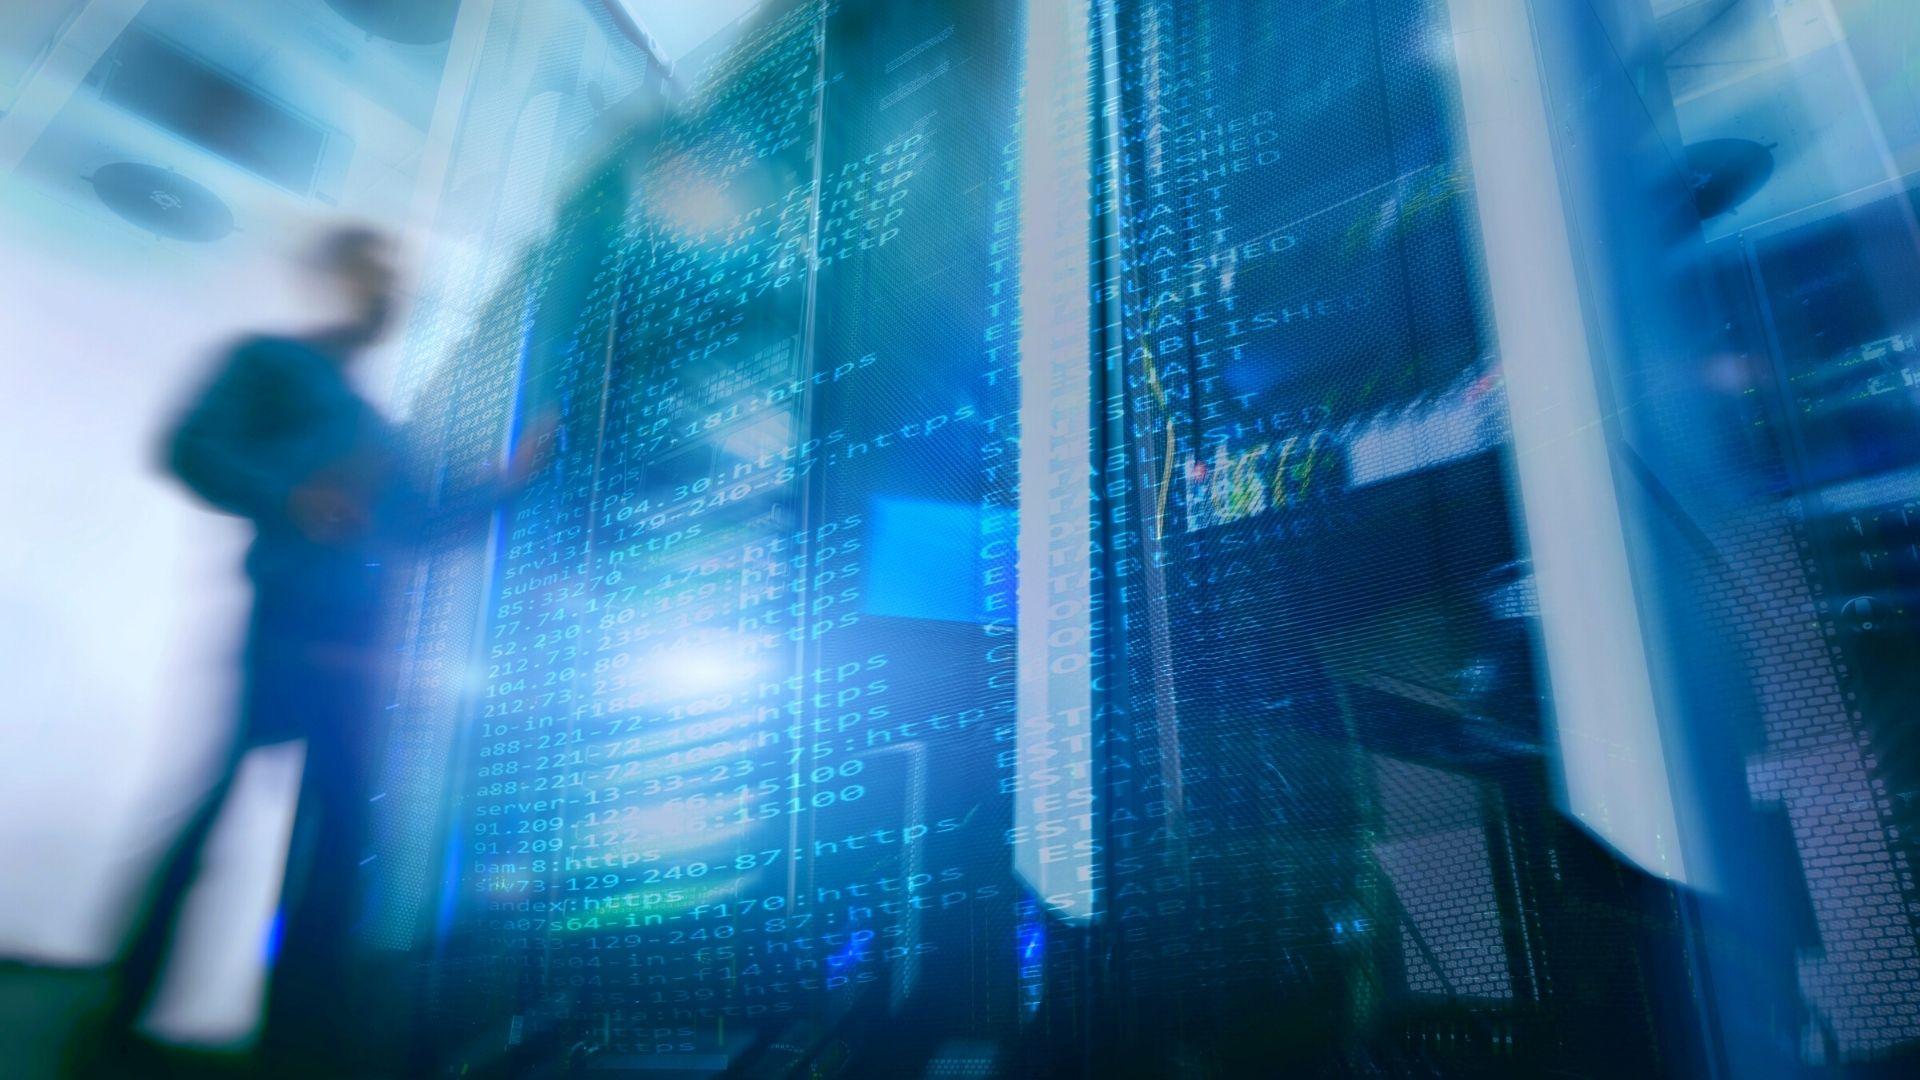
PSC provides users with an integrated array of high performance computing and communications products and related services. These include supercomputing-class hardware, software, mass storage facilities, consulting, and training. A brief description of these resources is provided below.
Computing resources
Anton
A special purpose supercomputer for biomolecular simulation designed and constructed by D. E. Shaw Research (DESRES).
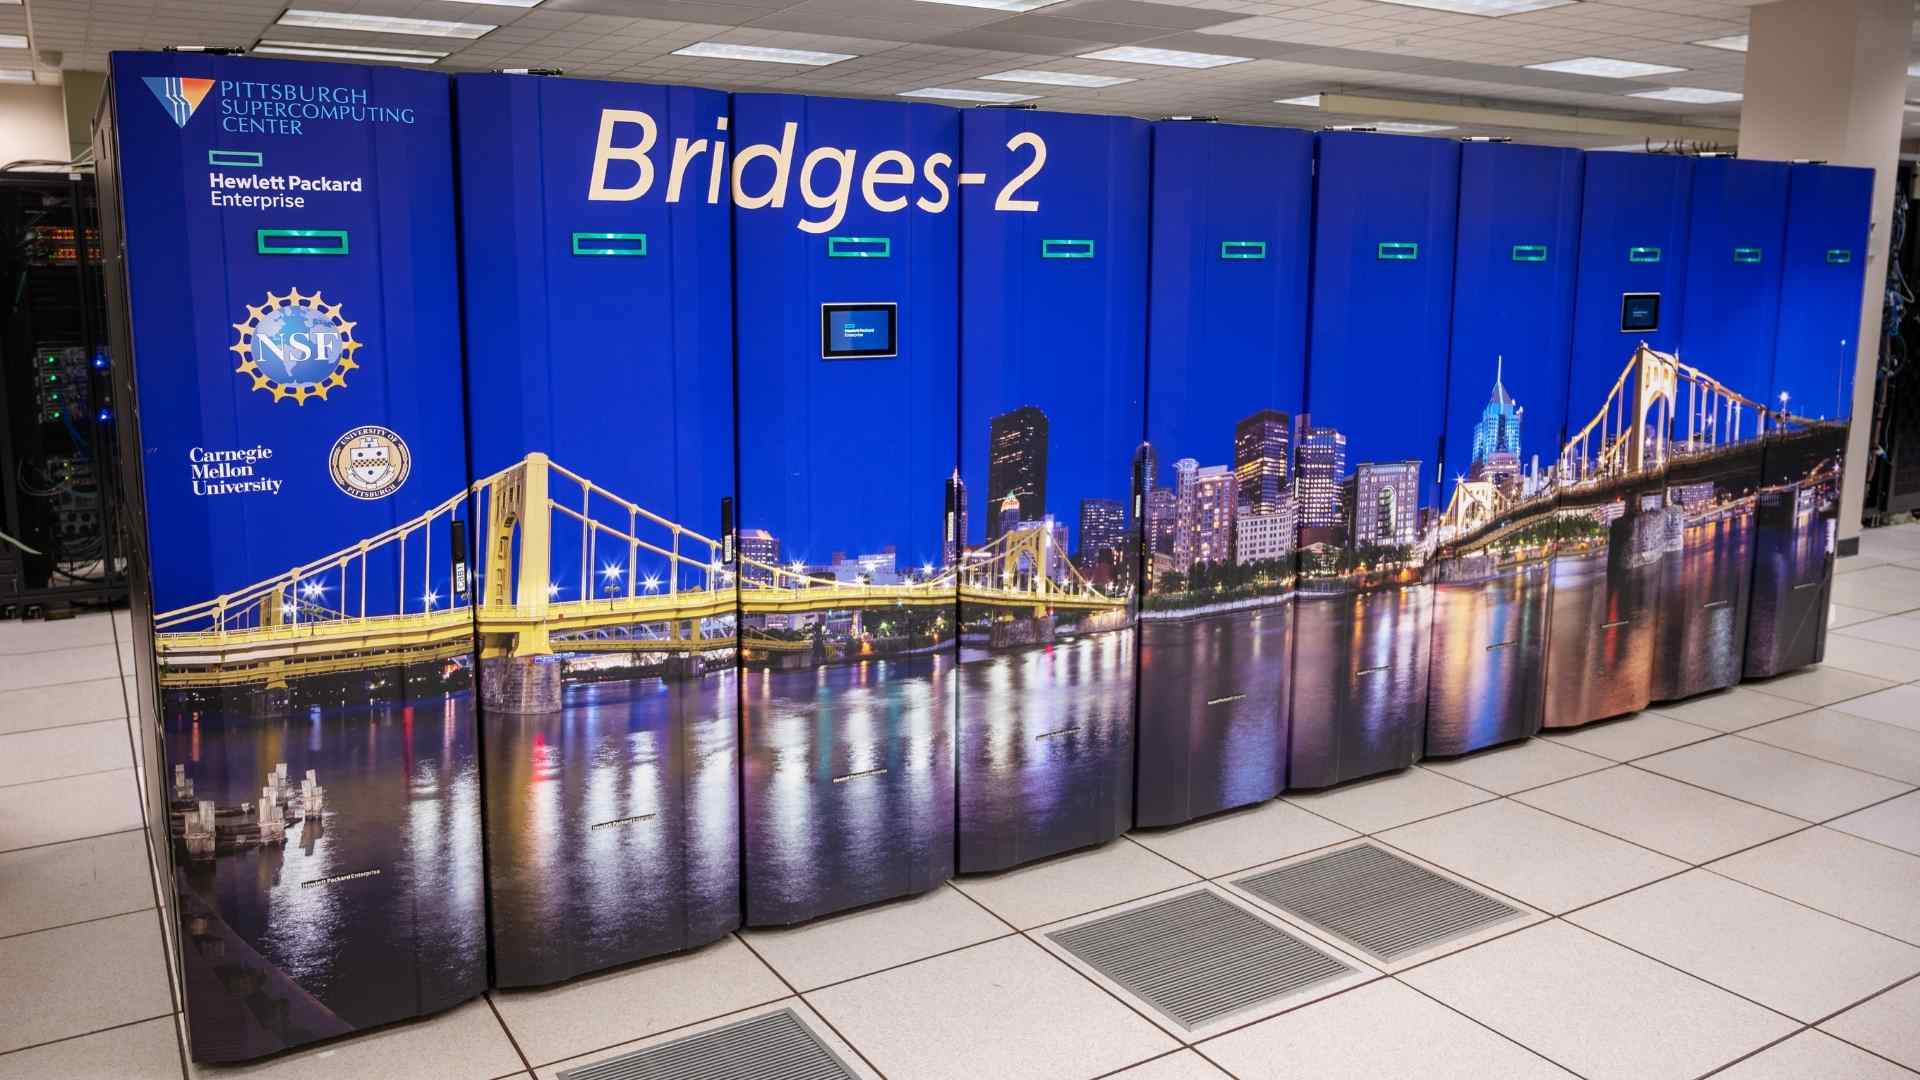
Bridges-2
Bridges-2 is a petascale resource for empowering diverse communities by bringing together HPC, AI, and Big Data. It provides transformative capability for rapidly evolving, computation- and data-intensive research, creating opportunities for collaboration and convergence research.
Neocortex
A unique high performance artificial intelligence (AI) system designed to revolutionize scientific AI research.
Other resources
Allocations
Get started with PSC. Learn how to apply for, administer, and renew allocations for computing services.
Software
Popular software for many scientific disciplines are available on PSC resources, including packages for computational chemistry, engineering, biomedical databases and sequence analysis, neural sciences, and materials science.

Training
PSC offers a variety of workshops, on- and off-site, on subjects ranging from code optimization and parallel programming to specific scientific topics. In addition to workshops, PSC hosts symposia on high performance computing topics.